Install a wallboard virtual appliance (UAW)
There are three steps to install your UAW -
1 Import the virtual machine
2 Configure the network settings (you may skip this if we have your VM config form)
3 Apply the licence
Import UAW_VM
- Click the download link and enter the credentials we sent to you
- Download the file (UAW_VM.ova) to a folder, making sure the files don't get renamed by the browser (Windows sometimes remap .ova to .tar)
- Open your vSphere client
- Select deploy ovf (or similar), browse to the folder where you downloaded the files and select the .ovf or .ova file
- Give the instance a name
- Select the datastore for the VM guest instance
- Select the Disk Format (we suggest Thin Provision)
- After a successful import, power on the instance
UAW VM network configuration
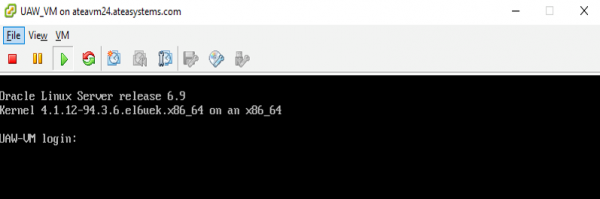
Log into the VM using VM console application.
Logon using the userid = thirdparty and the password = ateasystems
(Note - you’ll be asked to set the password for the thirdparty user on login, so please change it to something that meets your security standards.)
Once you’ve logged on, type:
sudo su -
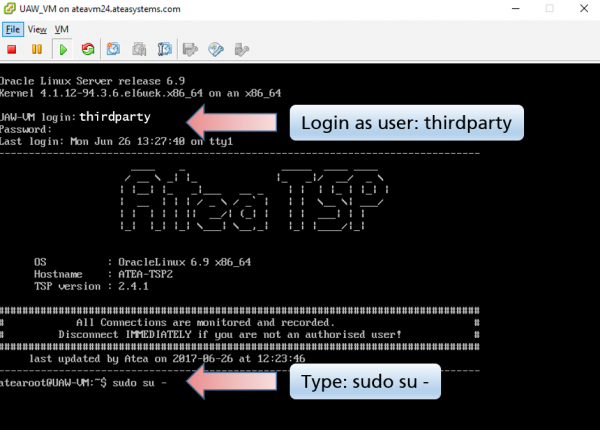
This gives you root user permissions, and will be display the Ātea network change script.
Please change these to the values to reflect your company's network environment.
Tips:
-
Use TAB to move to the next field
-
Ensure you have only one IP address for the NTP source
-
Press ENTER or use SUBMIT when you have completed the form
-
If you accidently exit this form, just restart it -
-
log out of the root user by typing exit
-
From the thirdparty user, type: sudo su -

Once completed, apply the new network settings by rebooting the VM. Type:
sudo reboot
Get your licence
Please email support@ ateasystems.com with the following information so we can provide you with a licence.
- VM MAC address
- UCCX server name
- UCCX IP address
You’ll need to copy that licence into the following web URL to install it.
https://{your_VM_IP_address}/UccxStats/setup.jsp
Our website has specific instructions in the How-to article Update or load a new license on your wallboard (UAW)